
** Cliquez ici pour la version française **
Subscribe and make sure to be the first to know about any news, announcements and new patterns!
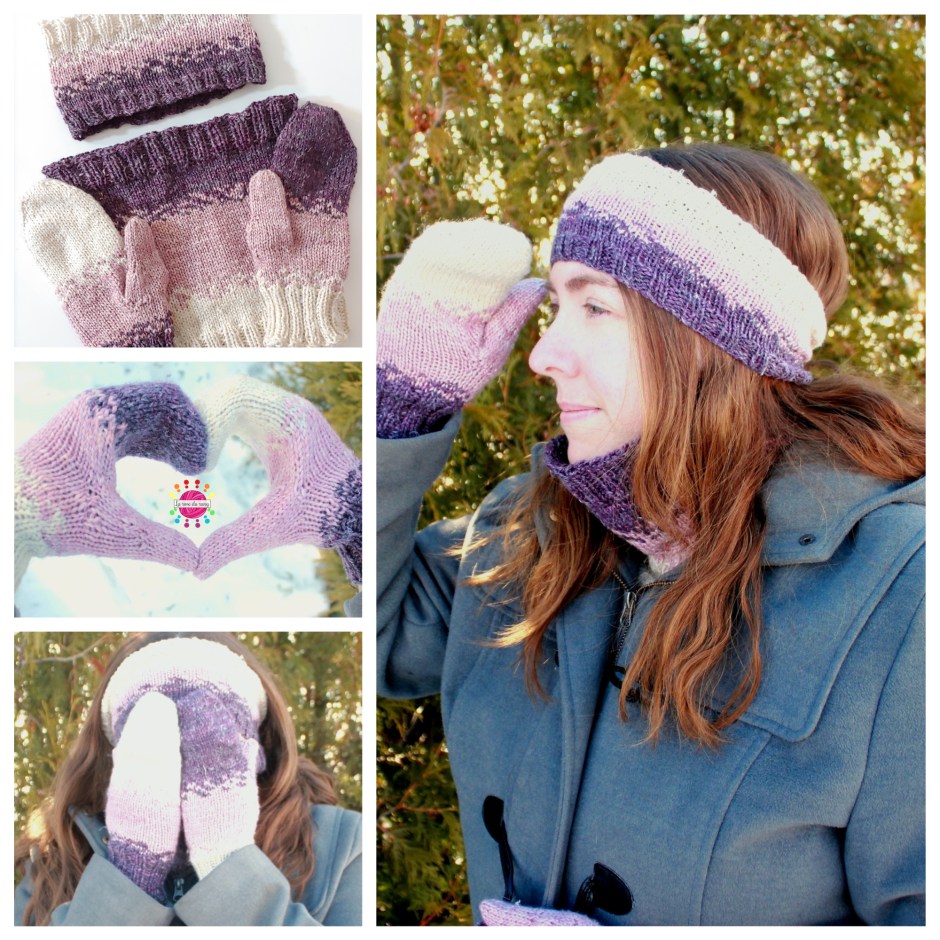
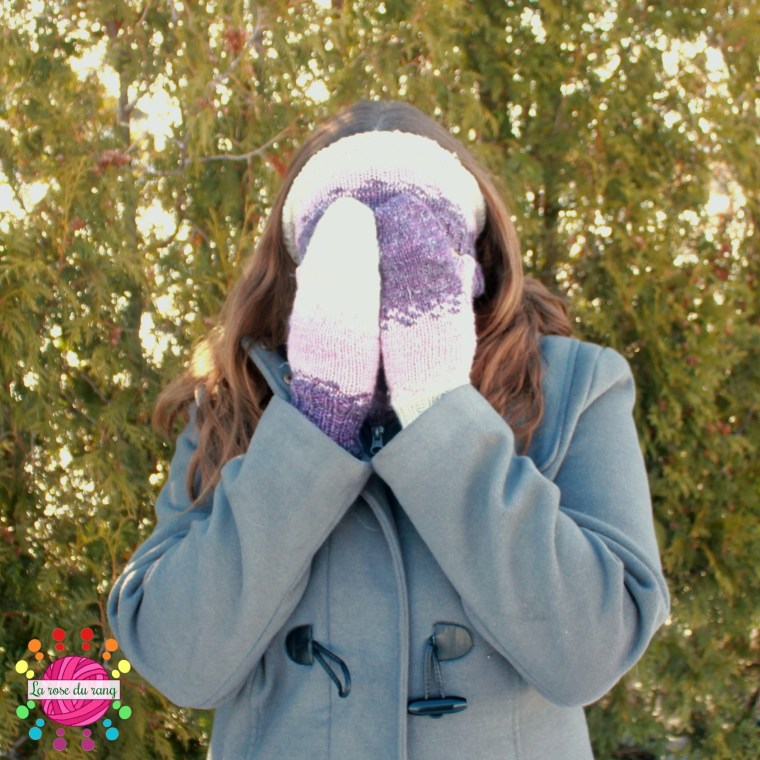
Cozy and cute… there’s just no need to say anything else!
Size: This pattern includes the instructions for a single adult size. However, it’s a very easy-to-customize pattern and you can adjust the size by casting on more or less stitches. Just keep in mind that this will affect the overall amount of yarn required.
Dimensions
Cowl: 22,5 cm wide x 24 cm tall
Headband: 19 cm wide x 11,5 cm tall
Mittens: 9 cm wide x 23 cm tall
Get the « Chalet » yarn by Artfil!
*** This pattern is now available to view for free or as a paid PDF file through Ravelry ***

| Abbreviations CO – cast on st(sts) – stitch(stitches) k – knit k2tog – knit 2 sts together (-1) p – purl yo – yarn over CC – color of choice | Material 4 mm circular needles (40 inch for magic loop and to work mittens two at a time) yarn – DK weight, about 360 meters (shown in Artfil’s Chalet yarn in Sérénité, Hamac and Détente colorways) yarn needle to weave in ends stitch marker |
Gauge & instructions
22 sts x 30 rows = 4 inch / 10 cm square (knit in stockinette stitch, in the round and blocked)
Note: When changing colors, make sure you do not make groups larger than 3 sts wide. This will help you avoid tension issues.
Cowl – You can adjust the width of the cowl by casting on additional stitches. Make sure to use a multiple of 4. Keep in mind that this will change the overall amount of yarn required.
Setup) With CC1, CO 96 sts, place marker and join to work in the round (96)
Rounds 1-10) *k2, p2* around
Rounds 11-20) k around. If you want a taller cowl, you can work more rounds here, but it will require more yarn.
Rounds 21-26) For the next 6 rounds, you will k around and randomly insert CC2 stitches for the color change, adding more CC2 stitches and less CC1 in further rounds. This will create a pixelated effect.
Rounds 27-46) Cut CC1, k around with CC2 only. If you want a taller cowl, you can work more rounds here, but it will require more yarn.
Rounds 47-52) For the next 6 rounds, you will k around and randomly insert CC3 stitches for the color change, adding more CC3 stitches and less CC2 in further rounds. This will create a pixelated effect.
Rounds 53-72) Cut CC2, k around with CC3 only. If you want a taller cowl, you can work more rounds here, but it will require more yarn.
Rounds 73-82) *k2, p2* around. BO loosely and weave in ends.

Head band– You can adjust the width of the headband by casting on additional stitches. Make sure to use a multiple of 4. Keep in mind that this will change the overall amount of yarn required.
Round 1) With CC1, CO 80 sts place marker and join to work in the round (80)
Rounds 2-7) *k2, p2* around
Rounds 8-12) k around
Rounds 13-17) For the next 5 rounds, you will k around and randomly insert CC2 stitches for the color change, adding more CC2 stitches and less CC1 in further rounds. This will create a pixelated effect.
Rounds 18-21) k around
Rounds 22-27) For the next 5 rounds, you will k around and randomly insert CC3 stitches for the color change, adding more CC3 stitches and less CC2 in further rounds. This will create a pixelated effect.
Rounds 28-31) k around
Rounds 32-37) *k2, p2* around. BO loosely and weave in ends.

Mittens – You can adjust the width of the mitten by working additional increases until you have the desired width.Keep in mind that this will change the overall amount of yarn required.
Worked top down with an afterthought thumb. The instructions here work best using the magic loop method just like when knitting two-at-a-time toe-up socks. If you want to match the look suggested in the cover picture, make sure to match your CC2, but that your CC1 and CC3 are inverted between the mittens.
Top of the mitten
Setup) With CC1 and using a Turkish cast on, CO 8 stitches.This will give you 8 stitches on each needle (and per mitten) once you start knitting in the round.
Round 1) k around (16 sts / mitten)
Round 2) *k1, yo, k to one st before the end, k1* repeat on the second needle (20 sts / mitten)
Round 3) *k1, k through the back loop, k to yo, k through the back loop, k1* repeat on the second needle
Repeat rounds 2 and 3 until you have 40 sts per mitten, ending on a round 3. If you want a wider mitten, you can work additional repeats.
Body of the mitten
Rounds 1-16) k around (40)
Rounds 17-21) For the next 5 rounds, you will k around and randomly insert CC2 stitches for the color change, adding more CC2 stitches and less CC1 in further rounds. This will create a pixelated effect.
Rounds 22-31) k around (40)
Right – Round 32) k 12 sts, k the next 8 sts with a contrasting waste yarn, then move them back to the right needle and knit them again with your working yarn, k to end.
Left – Round 32) k the next 8 sts with a contrasting waste yarn, then move them back to the right needle and knit them again with your working yarn, k to end.
Rounds 33-36) k around (40)
Rounds 37-41) For the next 5 rounds, you will k around and randomly insert CC3 stitches for the color change, adding more CC3 stitches and less CC2 in further rounds. This will create a pixelated effect.
Round 42) k around
Rounds 43-57) *k2, p2* around (40) BO loosely, weave in ends.
Thumbs– Pull out the scrap yarn and pick up the live sts (8 above and 8 below the opening). Join yarn, place marker and join to knit in the round.
Round 1) k 8 sts, pick up and knit 3 sts along the opening of the thumb, k 8 sts, pick up 3 sts along the opening of the thumb (22 sts)
Rounds 2-8) k around (22)
Round 9) k2tog, k the next 9 sts, k2tog, k the next 9 sts (20)
Rounds 10-11) k around (20)
Round 12) k2tog, k the next 8 sts, k2tog, k the next 8 sts (18)
Rounds 13-14) k around (18)
Round 15) k2tog, k the next 7 sts, k2tog, k the next 7 sts (16)
Rounds 16-25) k around (16) If you need a longer thumb, you can work more rounds here.
Round 26) k2tog around (8) Cut yarn, weave end through live sts and pull. Sew close and weave in ends.
Support my business by purchasing the PDF pattern through Ravelry!


