

** Cliquez ici pour la version française **
Easy and beautiful, this is the headband for you if you want to showcase your love of luxurious fibers!
Size – One size fits most! If needed, you can simply make the ties longer! 11 inches long (24 inches with ties) x 1 inch wide
Subscribe and make sure to be the first to know about any news, announcements and new patterns!
Description
*** This pattern is now available to view for free ! To help support my business, purchase a paid PDF pattern through Ravelry !***

| Abbreviations st(s) – stitch(es) ch – chain sl – slip stitch HDC – half double crochet 3DC – three double crochet in the same stitch (+2) MC – main color CC – contrast color | Material Crochet 5 mm Worsted Weight (#4) Artfil’s Sweater Headband – MC about 10 g of « Natural » Curls – CC about 20 g of « Pigeon » Flowers – CC about 6 g of « Hypnosis », « Natural » and « Bering Sea » |
Gauge & instructions
All parts are worked flat unless noted otherwise. Gauge isn’t critical, just make sure your headband has the measurements indicated in the description.
Instructions
Headband
Row 1) With MC, ch 50 sts, turn and HDC to end, ch 2 and turn (48)
Row 2) HDC in the third loop, to end (48)
Round 1) ch 1, do not turn and then sl in each st around the whole headband. Finish off, weave in
ends.

Ties – Make one at each end of the headband
Cut six (6) 24 inches long strands of MC yarn and weave 3 strands through the sts at both ends of the work before braiding in place. Knot securely and voilà!

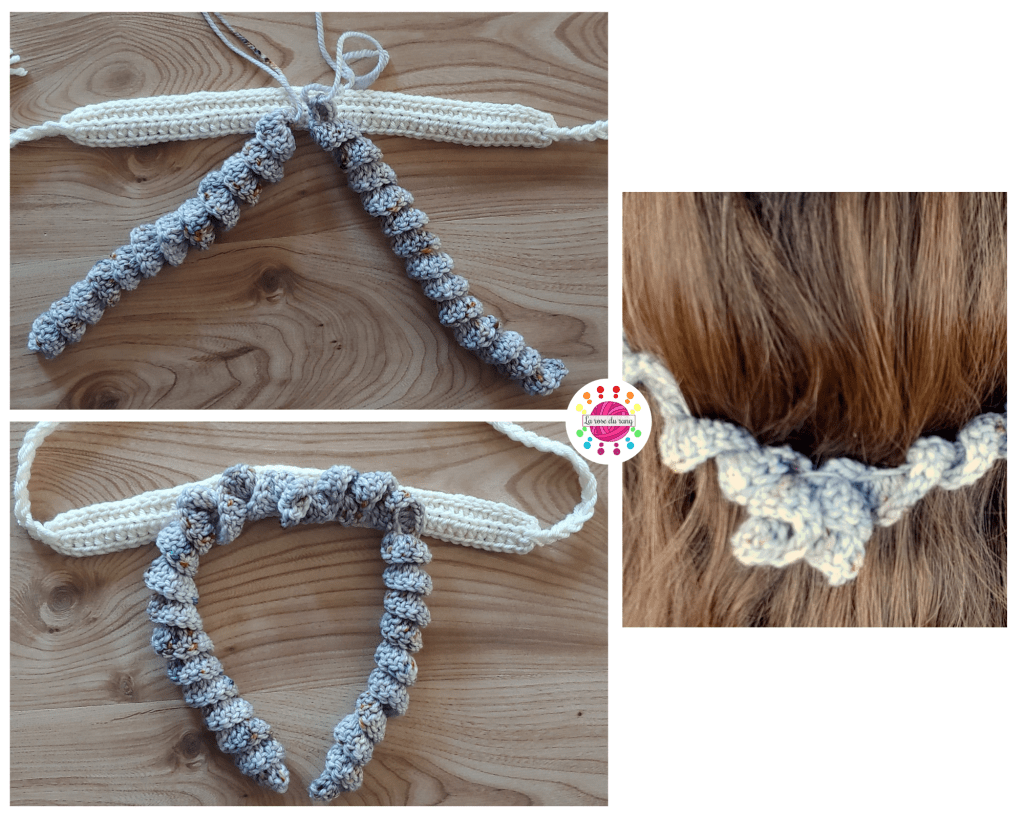
Curls – Make 2 Your starting chain should be about 11.5 inches long and very tight so that your curl doesn’t stretch too much when the crown is worn. Your finished curls should be about 10 inches long when coiled. If your gauge is very loose, try using a smaller hook to avoid major stretching of the curls.
Row 1) Using CC, ch 54 sts, turn and work 3DC in each stitch to end. Finish off, leaving long tail for
assembly. Place the curls at the center of the headband and sew the left curl from the center to 3 inches to the left and the right curl from the center to 3 inches to the right. Then tie the ends of the curls together to form a crown when the headband is worn.
Flowers – Make as many flowers as you want! You could also skip this and use silk flowers!
Row 1) Using CC, ch 16 sts, turn and work 3DC in each stitch to end. Finish off, leaving long tail for
assembly. Curl the work onto itself to form a flower and sew in shape using the tail. Sew the
flowers to the headband about 2-3 inches off the center.

Support my business by purchasing a PDF pattern through Ravelry!


Un commentaire sur « Patron gratuit : La couronne de fleurs de Yana »